7 Important Tips Associated with Learning How to Cross Stitch
Cross-stitching is one of the most common stitching methods, which has gained a lot of popularity. However, it is not easy to become a professional at cross-stitching without following certain important rules and regulations. When you follow the right tips, you will end up with a perfect product, and you will also start enjoying this amazing craft. Cross-stitch also helps to minimize stress. Stress can cause several unwanted issues. Ensure that you are following all the tips associated with cross-stitching that have been mentioned below.
A portion of my soonest cherished recollections rotate around sitting and viewing my mother as she took a shot at cross join ventures. I was intrigued by the entirety of the ravishing hues and mind-boggling point of interest! As a grown-up, one of my innovative objectives has been to figure out how to cross fasten. Yet I’ve generally been somewhat dismayed by where to start. Fortunate for me, Bacilli was caring enough to welcome me to attempt a fun new cross fasten pack that makes beginning with cross join very simple in any event, for learners! I am so glad with how my first cross join venture turned out, and today, I am going to share some extremely accommodating amateur cross fasten tips I learned en route that helped make this first task a triumph. Additionally, I am allowing one fortunate prepared the chance to win a lot of each of the new Bacilli Learn to Stitch Kits, so make certain to peruse on for those subtleties!
Clean hands

There is no denying the fact that this is common sense, but you should always consider washing your hands before you are touching your piece of fabric. You are indeed going to wash the fabric when the work is done, but it is always suggested to keep your hands clean. If you are using hand-dyed fabric, washing it is always a good idea before you start stitching so that you can get rid of the loose dye, which can start staining your project.
The loop method
Make use of the famous loop method for starting threads, especially if you are using an even number of strands. This is going to help in making the process of cross-stitching easier and better.
Stage 1
Separate ONE (1) strand of floss, twice the length you ordinarily use. Crease the floss down the middle, and string the two last details through the eye of your needle. This should make a long tail with a “circle” on the end. Bring your needle up from the back, as you would make the primary portion of your cross fasten.
Stage 2
Presently bring your needle down through the front of the texture to finish the primary portion of your ‘X.’ Try not to pull the string tight yet… turn your work over, and on the rear of your texture, string your needle through the circle.
Stage 3
Presently you can pull the string tight (however not very tight!) to verify it set up. (see the photograph underneath)
At that point, you can complete your cross join, not surprisingly. End your string in the standard method for running it under a few strings along the back to verify
Length of the embroidery
Ensure that you are measuring the floss length by using your fingertips and stretching the thread to your elbow. You need to double this if you are using the loop method for starting. Its length is going to be perfect for reducing tangles within the thread. Purchase only the best Cross Stitch Kits to get ideal results.
Stage 1: Wash and iron
Your cross fasten or hand weaving piece may look clean superficially, yet oils from your hands have likely gathered on the texture while you sewed, so washing and pressing is a significant initial step. Adhere to our washing directions to set up your sewing for confining.
Stage 2: Cut sponsorship felt
Separate out the band you are utilizing to outline your piece. Spot within ring on a bit of felt and utilize a pen or chalk pencil to follow around the outside of the ring. Cut out the hover of felt and put it in a safe spot.
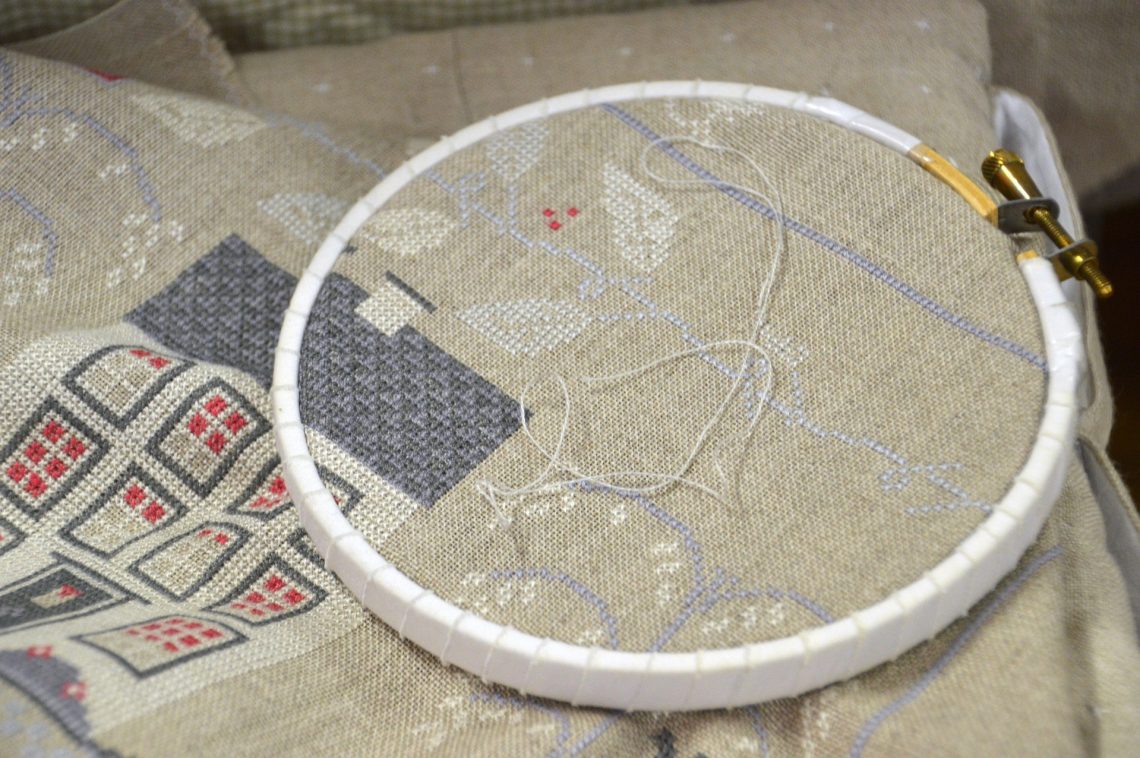
Stage 3: Put cross fasten in the band
Spot the internal ring of the band on a table or other level surface. Lay your squeezed and evaporated cross fasten face over the ring. Focus the structure and afterward place the external ring on top, ensuring the screw is focused at the highest point of your plan. Take as much time as necessary, and change the situating varying to get the plan put perfectly.
When the plan is situated where you need it, ensure the texture is pulled rigid yet not all that tight that the structure is mutilated. Next, fix the screw on the weaving loom.
Trim the overabundance texture around the loop, leaving around a 1-1/2 inch edge.
Stage 4: Gather the texture
String your needle with a length of weaving floss or uncompromising sewing string, and leaving a 3inch tail, sew a running line around the hover around 1/4 inch in from the edge of the texture. Make your running join around 1/4-1/2 inch long.
At the point when you return to the start of the circle, expel the needle. Tenderly draw the parts of the bargains. The texture will begin to pucker and assemble. Continue pulling gradually and tenderly, altering the folds toward the middle as vital, until the texture lies level. Tie the two finishes in a straightforward bunch to verify.
Stage 5: Apply the felt sponsorship
Utilizing another length of weaving floss and your needle, fasten the felt hover to the rear of the circle. You can utilize either a sweeping join (appeared) or a little whip line. Use string I’ts similar shading as the felt to cause the fastens to vanish or go with a differentiating string as an extra plan component.
Secure the edge of the texture
You can secure the edges of your texture by crisscross fastens or brawl checks. You likewise have the opportunity of utilizing painters tape for fixing the texture edges. This will help in keeping the edges from beating up just as fraying when you are taking a shot at the undertaking. You can buy brawl check from shops of needlecraft effectively. They are additionally accessible on the web.
Untwist the needle
Ensure that you are untwisting the string at whatever point conceivable. Drop your needle and enable the floss to loosen up. You can likewise hand contort your needle. A great many people will turn the needle marginally with each and every line, which is going to make the floss wind. You can likewise consider utilizing other significant strategies like railroading, which will keep your floss slick and parallel.
Check the tallying
Ensure that you are always tallying and twofold checking. You have the alternative of monitoring precisely where you are by denoting the example in various manners, either carefully or on paper. This is going to assist you in avoiding committing any undesirable errors.
Use frame
To make the process of stitching easier, it is always suggested that you use a frame. Frames can help you to get the perfect design that you are interested in getting. Even experienced stitchers use frames to get the designs perfectly.
Conclusion
Cross-stitching can undoubtedly be amazing. However, knowing the proper tips is important. Consider everything that has been mentioned above to be a pro at cross-stitching.